Getting started with R & RStudio
Each week, you will have small lab assignments that will be completed in RStudio, which uses the statistical programming language R. It is okay if you have never used R before, as each assignment will introduce new code by example.
To get fully set-up for using R & RStudio, there are 3 main steps:
- Download & Install R
- Download & Install RStudio
- Set up an R project for STAT 5700
The instructions below will walk you through each step. You should do these BEFORE our 2nd class session in Week 1, since we will be diving into Lab 01 together in class.
Step 1: Download & Install R
Navigate to https://cran.r-project.org and then:
- If you are a Windows user: Click on “Download R for Windows”, then click on “base”, then click on the Download link.
- If you are macOS user: Click on “Download R for (Mac) OS X”, then under “Latest release:” click on R-X.X.X.pkg, where R-X.X.X is the version number. For example, the latest version of R as of December 2025 was R-4.5.2. Note there are different links for Silicon vs Intel Macs (check your “About This Mac” to know which one you have).
Open the downloaded file and follow your computer’s instructions for installing the software.
Step 2 - Download & Install RStudio
Navigate to https://posit.co/download/rstudio-desktop/ to download & install RStudio. We will be using the RStudio Desktop FREE version.
- Click on the download link corresponding to your computer’s operating system
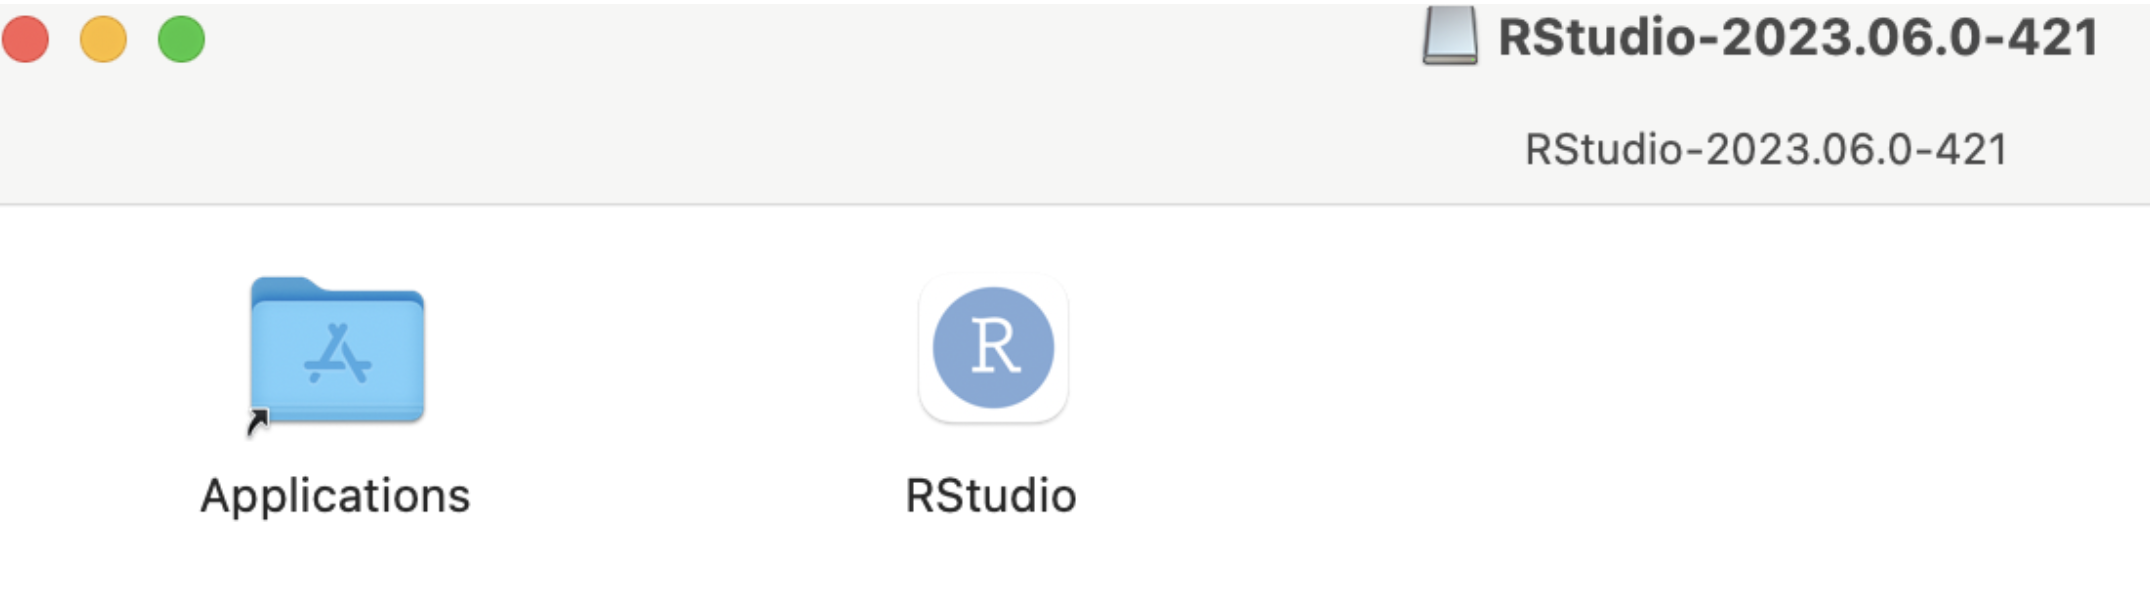
- Open the download file and follow your computer’s instructions for installing the software. For Mac users, begin the installation process by dragging the RStudio icon (right) into the Applications folder (left)
- Once installed, make sure you can open RStudio on your computer.
Step 3 - Set up and R project for STAT 5700
Follow the instructions in the video to set up at STAT_5700 R Project on your computer. Note, the video references MATH_250, but you should create STAT_5700